Key Takeaways
- Gather necessary tools: gloves, jar opener, dish towel
- Run lid under hot water for 30 seconds
- Dry lid and hands thoroughly
- Use grip enhancer (gloves or silicone pad)
- Gently tap lid edges to break vacuum seal
Understanding the 100 Step Plan to Open a Jar of Peanut Butter
At first glance, a “100 step plan to open a jar of peanut butter” might sound like a joke or a meme gone wild. But it’s actually a detailed, methodical approach to cracking open even the most stubborn jar lids without damaging your nails, your countertop, or your sanity. Think of it as a michigan-farm-town-voted-down-plans_02121794236.html” class=”auto-internal-link”>tech manual for a mundane task—because, hey, sometimes technology meets kitchen life in unexpected ways.
Why So Many Steps?
Here’s the thing: opening a jar isn’t always straightforward. Some jars have vacuum seals tighter than Fort Knox, others have slippery lids, and sometimes your grip just isn’t up to the task. The 100 step plan breaks the process down into micro-actions—warming, gripping, tapping, twisting, leveraging tools, and even body positioning. It’s a lot, but each step builds on the last to make sure you don’t just brute force it and end up frustrated.
Breaking Down the Process
The plan is divided into categories like preparation, lid manipulation, tool use, and final release. Imagine it as a flowchart where each tiny move is an input that increases your chances of success. From running the jar under hot water to using rubber gloves or a spoon as a lever, these steps cover every angle.

How the 100 Step Plan Actually Works
Step Categories
The 100 steps aren’t just random. They fall into five main buckets:
- Preparation: Cleaning the jar, ensuring dry hands, setting up your workspace.
- Heating: Using hot water or warm cloths to expand the metal lid slightly.
- Grip Enhancement: Using rubber gloves, jar grippers, or silicone pads.
- Tool Assistance: Employing spoons, butter knives, or specialized jar openers.
- Final Opening: Applying the right twisting force, sometimes combined with tapping or twisting motions.
Tools and Techniques
Tools range from the humble (damp dish towel) to the fancy (electric jar openers costing $40-60). Techniques include everything from the classic “tap the lid gently on the counter” to advanced ergonomic wrist positioning. The plan even includes steps for the aftermath—cleaning any peanut butter spills and resealing the jar if you don’t finish it all.
Is the 100 Step Plan Worth Your Time?
Efficiency vs. Complexity
Look — if you’re racing against the clock or just want to smear peanut butter on your toast, no one expects you to follow 100 steps. But here’s why the method has its fans: it’s reliable. When you’re dealing with a jar that refuses to budge, following these detailed steps can save you from wasted effort and frustration. It’s like the difference between hacking at a stubborn screw with a butter knife and having the right screwdriver and technique.
When to Use It
If you find yourself constantly struggling with jar lids, or you’re dealing with elderly family members with grip issues, investing a bit of time to master this plan is smart. Otherwise? Maybe just pick your favorite 3-5 steps and call it a day.
Best 100 Step Plan Variations and Tools
Manual Methods
From my experience growing soybeans and handling manual labor in the plant factory, grip and leverage are king. Using rubber gloves (about $5-10 per pair) or silicone jar openers ($8-15) can make a world of difference. Some swear by running the lid under hot water for 30 seconds, which slightly expands the metal.
- 👉 Best: OXO Good Grips Jar Opener — Ergonomic, easy to use, around $15. Worth every penny.
- Rubber gloves for grip enhancement — cheap and multi-purpose.
- Hot water soak — zero cost but requires patience.
Tech-Enhanced Solutions
For the gadget lovers, electric jar openers are a thing. They cost between $40-60 and take all the effort out of twisting. Plug in, clamp the jar, and let the motor do the work. Sound too good to be true? Yeah, kind of. They work best on standard size jars but can be bulky and not great for unusual shapes.
Costs Associated with the 100 Step Plan
Basic Supplies
Most of the steps require no investment beyond what you have in your kitchen. Dish towels, hot water, and patience are free. Rubber gloves and silicone pads are inexpensive, usually under $15 total, and last a long time.
High-Tech Gadgets
Electric jar openers, like the Black & Decker Jar Opener (around $55), are pricier. For some, they’re justified if you open jars frequently or have limited hand strength. Otherwise, it feels like overkill.
Alternatives to the 100 Step Plan
Quick Fixes
Some swear by the simple “bang the lid on the edge of the counter” trick or using a butter knife to gently pry the lid. These are low effort but risk spills or lid damage.
Professional Jar Openers
Manual lever-style jar openers ($20-30) are middle ground. They use mechanical advantage to open lids with minimal effort and don’t require batteries or plugs.
Pros and Cons of the 100 Step Plan
Advantages
- Reliable for even the most stubborn jars
- Reduces risk of injury or spills
- Teaches technique and patience
Drawbacks
- Time-consuming — definitely not for rush mornings
- Can feel over-engineered for simple jars
- Requires some tools that not everyone owns
How to Get Started with the 100 Step Plan
Preparation
Gather your tools: a dish towel, rubber gloves, a silicone jar opener or a butter knife, and access to hot water. Clear your workspace for easy movement. Make sure your hands are dry unless you’re using gloves.
Execution Tips
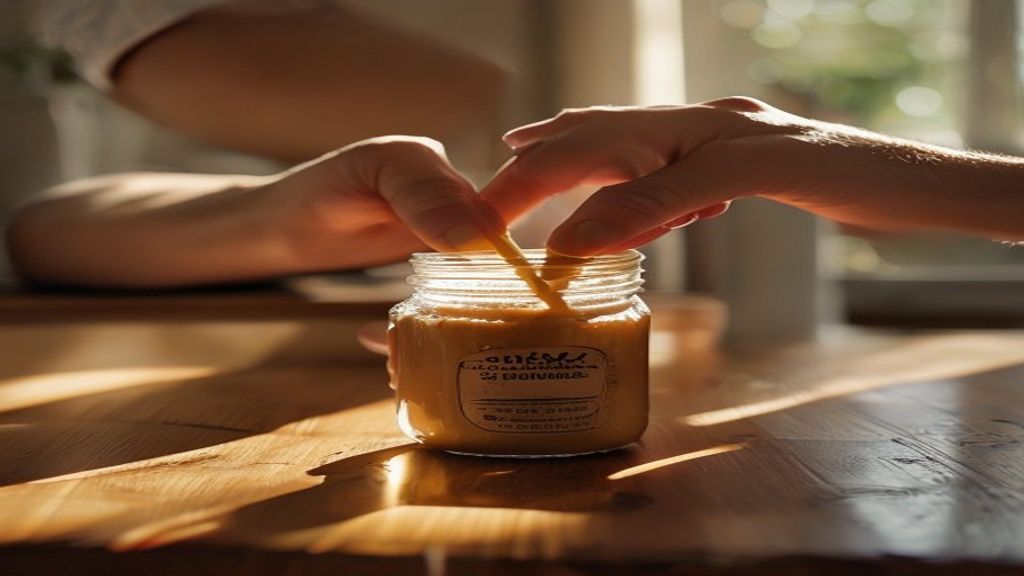
Start by warming the lid under hot water for about 30 seconds to loosen the seal. Dry thoroughly. Put on your gloves or use a silicone pad for grip. If you have a jar opener, position it correctly. Apply gentle taps around the lid edge with a spoon to break the vacuum seal. Finally, twist with steady pressure rather than jerking. Repeat a few times if needed.
With practice, you’ll find your personal shortcut through the 100 steps. But hey, now you have the full playbook for when simple methods fail.
Comparison of Top 5 Jar Opening Methods
| Method | Cost | Ease of Use | Effectiveness | Best For |
|---|---|---|---|---|
| Hot Water Soak | Free | Easy | Moderate | Standard jars |
| Rubber Gloves | $5-10 | Easy | High | Slippery lids |
| OXO Good Grips Jar Opener | $15 | Very Easy | Very High | Varied jar sizes |
| Electric Jar Opener | $40-60 | Very Easy | High | Frequent openers |
| Manual Lever Jar Opener | $20-30 | Moderate | High | Limited hand strength |
👉 Best Picks
- Best Overall: OXO Good Grips Jar Opener — perfect blend of price, ease, and effectiveness.
- tracking/” class=”auto-internal-link”>Budget Option: Rubber gloves — multi-use, cheap, and surprisingly effective.
- Premium Choice: Electric Jar Opener — if you hate manual effort and don’t mind the price tag.
Frequently Asked Questions
What is 100 step plan to open a jar of peanut butter?
It’s a detailed, step-by-step method breaking down every action needed to open a stubborn peanut butter jar, from preparation to final lid removal.
How does 100 step plan to open a jar of peanut butter work?
The plan works by systematically loosening the lid using heat, grip enhancement, tool assistance, and proper twisting techniques to ensure the jar opens without damage or frustration.
Is 100 step plan to open a jar of peanut butter worth it?
If you frequently struggle with jars or need a reliable method for tough lids, yes. It saves time and effort in the long run, but for easy jars, simpler methods suffice.
What are the best 100 step plan to open a jar of peanut butter options?
Top options include using rubber gloves, silicone jar openers, the OXO Good Grips Jar Opener, or electric jar openers depending on your budget and frequency of use.
How much does 100 step plan to open a jar of peanut butter cost?
Costs range from free (hot water soak) to about $60 for electric openers. Most effective manual tools cost between $5-20.
🔗 Recommended Resources
- 📚 Best Ai Automation Tools 2026 on Amazon
- ⚡ Get Our AI Automation Templates & Guides
- 📨 Join Our Free AI Money Newsletter (Weekly)
This post contains affiliate links. We may earn a commission if you purchase through these links, at no extra cost to you.